Dulce de Leche Lava Cakes Recipe
Introduction
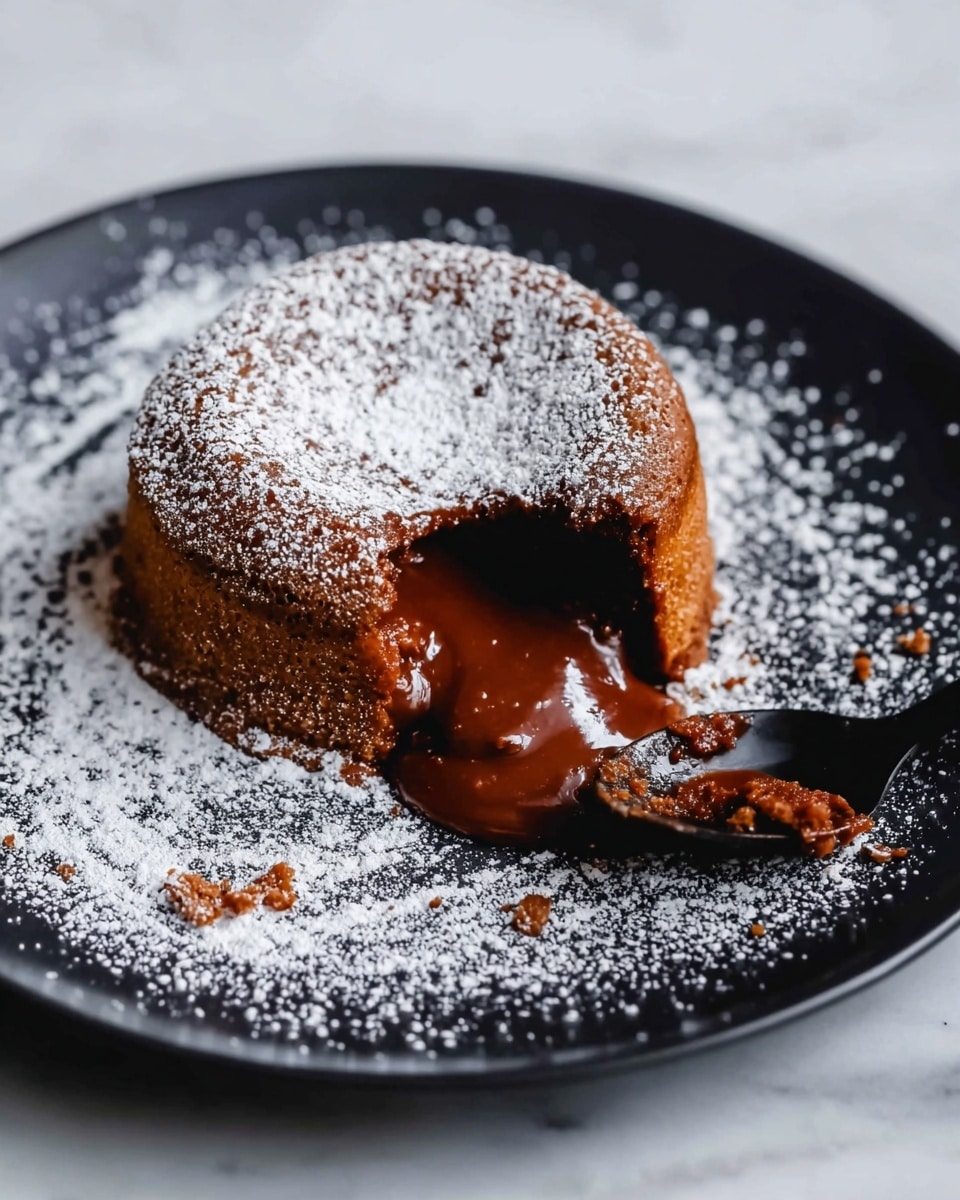
These Dulce de Leche Lava Cakes are a luscious treat with a gooey, caramel-filled center. Perfectly rich and indulgent, they’re sure to impress at any dessert table while being surprisingly simple to make at home.
Ingredients
- 2 tbsp Butter, melted (plus extra for greasing)
- 2 tbsp Flour (for dusting the ramekins)
- 400g Dulce de Leche
- 100g Unsalted butter, melted
- 1 Egg yolk
- 2 Large eggs
- 40g All-purpose flour
- Powdered sugar (for topping)
Instructions
- Step 1: Preheat the oven to 350ºF (175ºC).
- Step 2: Prepare 4 ramekins by coating the sides with melted butter. Optionally, sprinkle a little flour inside to prevent sticking.
- Step 3: In a bowl, whisk together the eggs, egg yolk, and 40g of flour until the mixture becomes creamy and smooth.
- Step 4: In a larger bowl, combine the dulce de leche and melted unsalted butter. Stir until fully incorporated.
- Step 5: Add the egg and flour mixture to the dulce de leche mixture and mix until well combined.
- Step 6: Divide the batter evenly among the prepared ramekins. Bake for 12 minutes, or until the edges are set but the centers still wobble slightly.
- Step 7: Allow the cakes to cool in the ramekins for 10 minutes. Then, carefully invert each cake onto a plate using a kitchen towel.
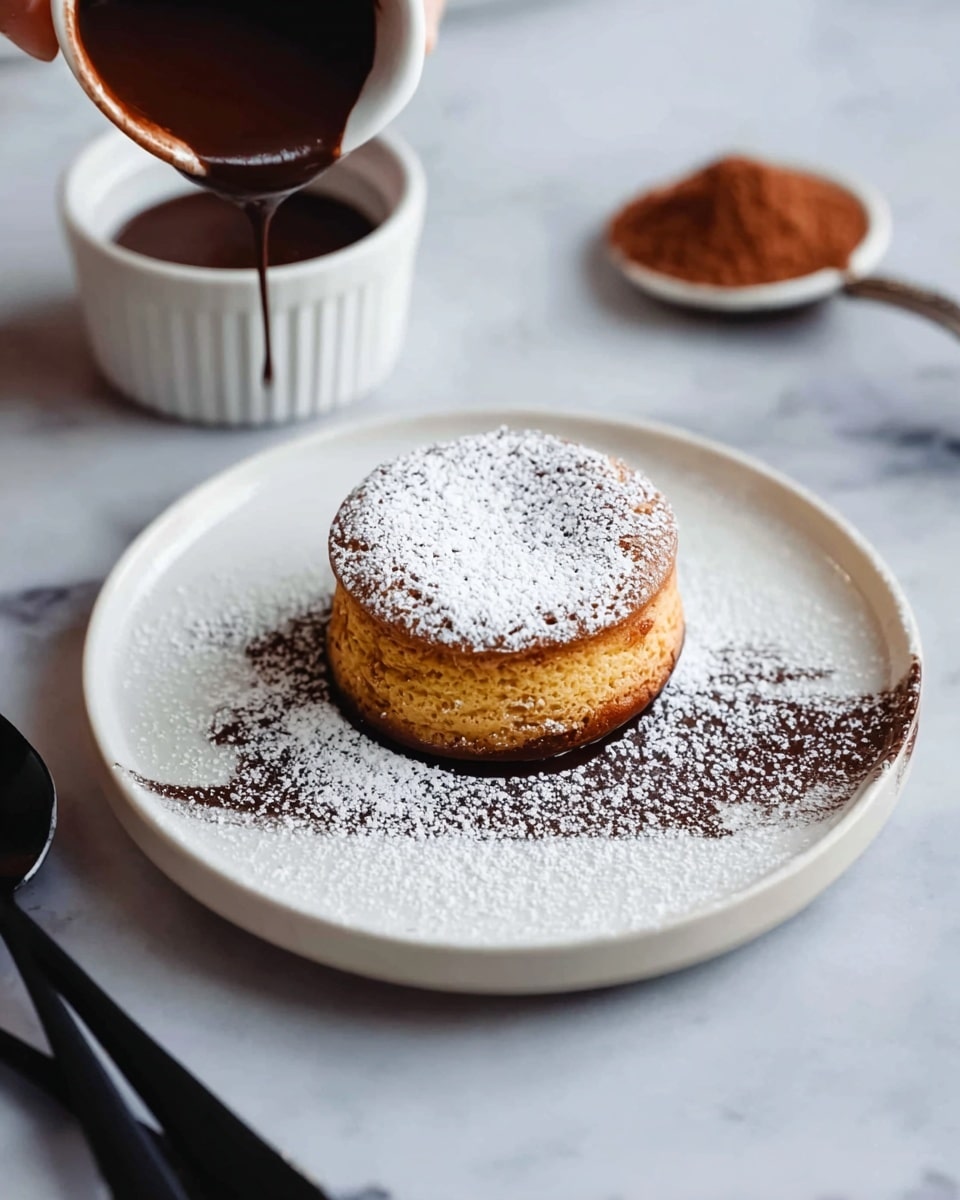
- Step 8: Dust the lava cakes with powdered sugar or garnish as desired before serving. Enjoy your rich and gooey dessert!
Tips & Variations
- For extra flavor, add a pinch of sea salt to the batter to balance the sweetness.
- Try serving with fresh berries or a scoop of vanilla ice cream for a refreshing contrast.
- Use non-stick spray if you prefer instead of butter for greasing ramekins to make removal easier.
Storage
Store any leftover lava cakes in an airtight container in the refrigerator for up to 2 days. Reheat gently in the microwave for 20-30 seconds to avoid overcooking the gooey center. For best texture, enjoy them freshly baked.
How to Serve
Serve this delicious recipe with your favorite sides.
FAQs
Can I prepare the batter ahead of time?
It’s best to bake the cakes right after mixing to preserve their lava texture. However, you can prepare the batter and keep it in the refrigerator for up to 24 hours before baking.
What if I don’t have dulce de leche?
You can substitute dulce de leche with caramel sauce, but the flavor and texture will be slightly different. Homemade caramel or store-bought caramel sauces work well as alternatives.
PrintDulce de Leche Lava Cakes Recipe
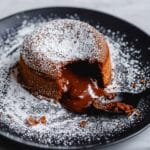
Indulgent Dulce de Leche Lava Cakes featuring a rich, gooey center of caramelized dulce de leche enveloped in a tender, buttery cake. These individual-sized molten cakes are quick to prepare and bake to perfection, offering a deliciously decadent dessert with minimal effort.
- Prep Time: 10 minutes
- Cook Time: 12 minutes
- Total Time: 22 minutes
- Yield: 4 individual lava cakes 1x
- Category: Dessert
- Method: Baking
- Cuisine: Latin American
Ingredients
For the Ramekin Preparation
- 2 tbsp Butter, melted (for coating)
- 2 tbsp Flour (optional, for coating)
Cake Batter
- 400g Dulce de Leche
- 100g Unsalted butter, melted
- 1 Egg yolk
- 2 Large eggs
- 40g All-purpose flour
Topping
- Powdered sugar, for dusting
Instructions
- Preheat Oven: Preheat your oven to 350ºF (175ºC) to ensure it’s hot and ready for baking the lava cakes.
- Prepare Ramekins: Lightly coat the insides of four ramekins with melted butter to prevent sticking. Optionally, sprinkle a little flour over the butter and tap out excess for an easier release.
- Mix Eggs and Flour: In a medium bowl, whisk together the 2 large eggs, 1 egg yolk, and 40g flour until the mixture is smooth and creamy with no lumps.
- Combine Dulce de Leche and Butter: In a larger bowl, stir together the 400g dulce de leche and 100g melted unsalted butter until fully combined and smooth.
- Combine Mixtures: Gradually add the egg and flour mixture to the dulce de leche mixture, stirring continuously until a uniform batter forms.
- Fill Ramekins and Bake: Divide the batter evenly among the prepared ramekins. Bake in the preheated oven for about 12 minutes, or until the edges are set but the center still has a slight wobble indicating a molten core.
- Cool and Serve: Allow the cakes to cool in the ramekins for approximately 10 minutes. Using a kitchen towel for grip, carefully invert each cake onto a plate. Dust the tops with powdered sugar or your preferred garnish before serving.
Notes
- Coating the ramekins properly is key to easily unmolding the delicate lava cakes.
- The baking time is critical; overbaking will set the centers completely and lose the lava effect.
- Serve immediately for best molten texture and flavor experience.
- Customization options include topping with fresh berries, whipped cream, or a scoop of vanilla ice cream.
Keywords: dulce de leche lava cake, molten cake, dessert, caramel lava cake, individual dessert