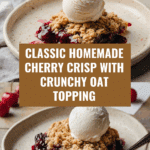
Homemade Cherry Crisp Recipe
If you have a hankering for a warm, comforting dessert that feels like a big cozy hug, then this Homemade Cherry Crisp is absolutely going to become your new favorite. It’s that perfect blend of tart, juicy cherries beneath a golden, buttery oat topping that’s just crisp enough to create the ultimate contrast in texture. Whether you’re making it for a casual family dinner or a special occasion, this cherry crisp manages to be both delightfully simple and irresistibly satisfying.
Ingredients You’ll Need
Every ingredient here plays a starring role, creating a harmony of flavors and textures you won’t be able to resist. From the fresh, tangy cherries to the rich, crumbly topping, each piece of the puzzle makes the Homemade Cherry Crisp truly shine.
- 6 cups cherries, pitted: Fresh or frozen cherries provide that juicy tartness that’s the foundation of this dessert.
- 1/2 cup granulated sugar: Sweetens the cherries but can be adjusted depending on the fruit’s natural tartness.
- 2 tablespoons lemon juice: Adds brightness and balances the sugar for a more vibrant cherry flavor.
- 2 tablespoons cornstarch: Thickens the cherry juices to give you that perfect, luscious filling.
- 1 teaspoon vanilla extract: Enhances the overall flavor with a gentle, floral sweetness.
- 1 cup old-fashioned oats: Creates a hearty, rustic topping that crisps beautifully in the oven.
- 3/4 cup all-purpose flour: Binds the oats and sugar, giving structure to the crisp topping.
- 1/2 cup brown sugar, packed: Adds a deep caramel note and moisture to the topping.
- 1/2 teaspoon ground cinnamon: Warms up the flavor profile with just a hint of spice.
- 1/2 teaspoon salt: Balances sweetness and enhances the other flavors.
- 1/2 cup unsalted butter, cold and cubed: The key to that flaky, crumbly topping that melts in your mouth.
- 1/3 cup chopped almonds or walnuts (optional): Gives an irresistible crunch and nutty layer of flavor.
- 1/4 teaspoon almond extract: Boosts the cherry flavor with a lovely, subtle nutty note.
- Vanilla ice cream or whipped cream: The perfect cool and creamy partner to the warm crisp.
How to Make Homemade Cherry Crisp
Step 1: Prep and Preheat
Start by preheating your oven to 375°F (190°C) and greasing a 9×9-inch baking dish. This ensures your crisp won’t stick and gets that golden brown edge we all love. Simple preparation sets the stage for dessert magic to happen.
Step 2: Mix the Cherry Filling
In a large bowl, toss the pitted cherries with granulated sugar, lemon juice, cornstarch, and vanilla extract. Letting this mixture sit for about 5 minutes helps the cherries release their natural juices, creating a juicy, thick filling that’s bursting with vibrant cherry flavor.
Step 3: Prepare the Crisp Topping
Combine the oats, flour, brown sugar, cinnamon, and salt in a separate bowl. Add the cold, cubed butter and work it into the dry ingredients using your fingers or a pastry cutter until you get large, coarse crumbs. This step is essential to get that light, crumbly texture that crisps up so beautifully in the oven.
Step 4: Assemble Your Crisp
Pour the cherry filling evenly into the prepared dish. Scatter the oat topping over the cherries, pressing it lightly so it sticks, then sprinkle the chopped nuts and almond extract on top if using. This layering ensures each bite has a bit of tart fruit, rich buttery crisp, and a subtle nutty crunch.
Step 5: Bake to Perfection
Bake for 35 to 40 minutes until the filling bubbles and the topping turns a gorgeous golden brown. Your kitchen will soon be filled with the intoxicating aromas of baked cherries, warm cinnamon, and browned butter—pure comfort in the making.
Step 6: Cool and Serve
After baking, let your Homemade Cherry Crisp cool for 10 to 15 minutes. This resting time lets the filling set just a bit so it’s easier to serve. Don’t skip this step — it’s the difference between a perfect slice and a messy scoop.
How to Serve Homemade Cherry Crisp
Garnishes
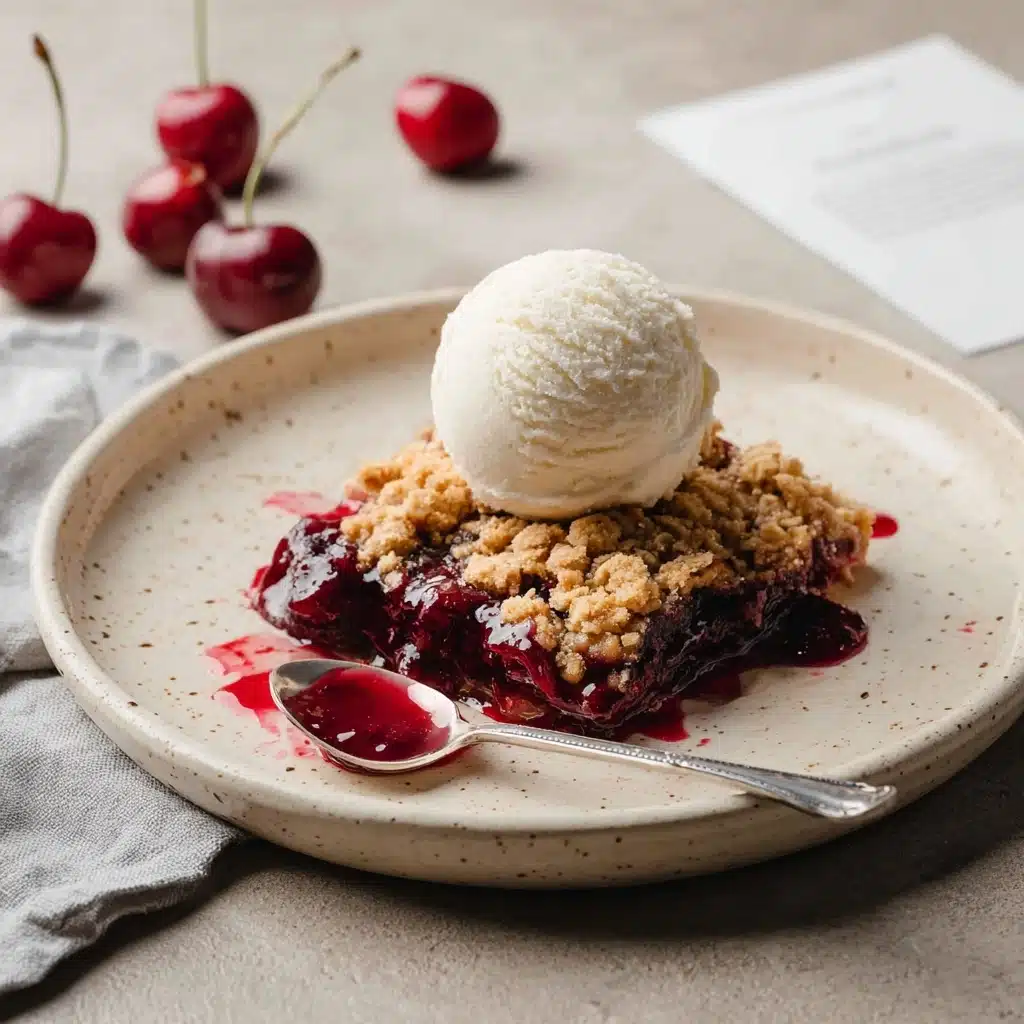
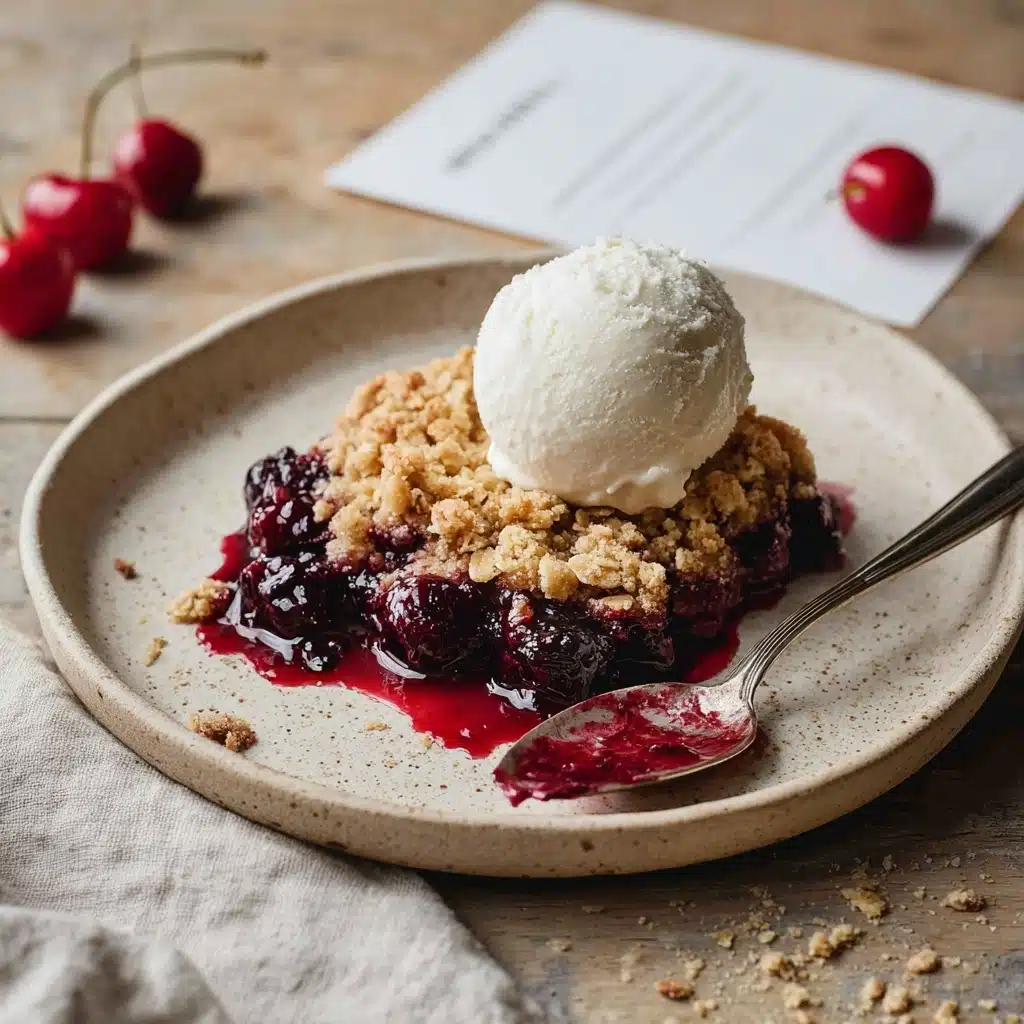
Topping your Homemade Cherry Crisp with a scoop of cold vanilla ice cream or a dollop of whipped cream adds that wonderful contrast between warm and cool, crunchy and creamy. For a touch of extra elegance, a sprinkle of toasted almonds or a fresh sprig of mint on top brings brightness and texture that guests will love.
Side Dishes
While this cherry crisp shines wonderfully on its own, it pairs beautifully with a simple cup of coffee or herbal tea. For an even heartier dessert spread, consider serving alongside a cheese platter with mild cheeses and crusty bread — the sweet and tart crisp will balance those savory flavors perfectly.
Creative Ways to Present
For an eye-catching dessert, serve the crisp in individual ramekins, topped with crispy oat crumbs on each, and a drizzle of honey over the ice cream. Or, turn it into parfait-style layers by alternating spoonfuls of warm cherry crisp with vanilla yogurt or mascarpone for a light summertime twist.
Make Ahead and Storage
Storing Leftovers
You can store leftover Homemade Cherry Crisp in an airtight container in the refrigerator for up to 4 days. The flavors actually deepen over time, making each serving as delightful as the first—just warm it up before enjoying to restore that melty crispness.
Freezing
This dessert freezes beautifully. Simply assemble the crisp in a freezer-safe dish before baking, then cover tightly and freeze for up to 3 months. When you’re ready to enjoy, bake directly from frozen, adding extra time to ensure it’s heated all the way through and bubbly.
Reheating
To reheat, pop individual servings or the entire crisp into a preheated 350°F (175°C) oven for about 15–20 minutes or until warmed through and the topping is crisp again. Avoid microwaving, if possible, as it tends to make the topping soggy instead of delightfully crunchy.
FAQs
Can I use canned cherries instead of fresh or frozen?
While fresh or frozen cherries are preferred for the best texture and flavor, you can use canned cherries if that’s what you have. Just drain them well, reduce the sugar slightly, and add a pinch of lemon juice to balance the sweetness.
What can I substitute for cornstarch?
If you don’t have cornstarch on hand, use an equal amount of arrowroot powder or potato starch. These alternatives help thicken the cherry filling just as effectively.
Is it possible to make this recipe gluten-free?
Absolutely! Swap the all-purpose flour for a gluten-free flour blend and ensure your oats are certified gluten-free. The texture will be just as delightful and perfect for those with gluten sensitivities.
Can this recipe be made without nuts?
Yes, the nuts are optional and mainly add crunch. If you have nut allergies or prefer a nut-free dessert, simply omit them and the crisp will still be delicious.
How sour or sweet will the cherry crisp taste?
The balance depends on your cherries and sugar preferences. Tart cherries make a more tangy dessert, but the brown sugar in the topping and vanilla extract add warmth and sweetness. You can adjust the granulated sugar in the filling to make it sweeter if desired.
Final Thoughts
Once you’ve tasted this Homemade Cherry Crisp, it’s hard not to keep coming back for seconds and thirds. It’s the kind of dessert that brings warmth to the kitchen and joy to the heart, no matter the season. So go ahead, gather your ingredients, and dive into making this comforting classic—you’ll thank yourself with every delicious bite.
PrintHomemade Cherry Crisp Recipe

This Homemade Cherry Crisp is a delightful dessert featuring a luscious cherry filling topped with a buttery, crunchy oat crumble. Perfectly baked to golden perfection, it balances sweet and tart flavors with a hint of almond and vanilla, served best warm alongside vanilla ice cream or whipped cream.
- Prep Time: 15 minutes
- Cook Time: 35 minutes
- Total Time: 50 minutes
- Yield: 8 servings 1x
- Category: Dessert
- Method: Baking
- Cuisine: American
- Diet: Vegetarian
Ingredients
Cherry Filling:
- 6 cups cherries, pitted (fresh or frozen; if frozen, do not thaw completely)
- 1/2 cup granulated sugar (add up to 1/3 cup more if cherries are very tart)
- 2 tablespoons lemon juice
- 2 tablespoons cornstarch
- 1 teaspoon vanilla extract
- 1/4 teaspoon almond extract
Crisp Topping:
- 1 cup old-fashioned oats (not instant)
- 3/4 cup all-purpose flour
- 1/2 cup brown sugar, packed
- 1/2 teaspoon ground cinnamon
- 1/2 teaspoon salt
- 1/2 cup unsalted butter, cold, cut into cubes
- 1/3 cup chopped almonds or walnuts (optional, for extra crunch)
For Serving:
- Vanilla ice cream or whipped cream
Instructions
- Preheat and prepare dish: Preheat your oven to 375°F (190°C). Butter or lightly grease a 9×9-inch baking dish to prevent sticking.
- Mix cherry filling: In a large bowl, toss the pitted cherries with granulated sugar, lemon juice, cornstarch, vanilla extract, and almond extract. Let this mixture rest for 5 minutes to allow the cherries to release their natural juices and the flavors to meld.
- Make crisp topping: In another bowl, combine the oats, all-purpose flour, brown sugar, ground cinnamon, and salt. Add the cold butter cubes and use your fingers or a pastry cutter to cut it into the dry ingredients until large crumbs form, ensuring a buttery and flaky texture.
- Assemble crisp: Pour the cherry mixture into the prepared baking dish. Evenly scatter the oat crumble topping over the cherries, pressing lightly so it adheres well. Sprinkle the chopped nuts on top, if using, for added crunch and flavor.
- Bake: Place the dish in the oven and bake for 35 to 40 minutes, or until the cherry filling is bubbling in the center and the topping is golden brown and crisp.
- Cool and serve: Allow the cherry crisp to cool for 10 to 15 minutes after baking. Serve warm, ideally with a scoop of vanilla ice cream or a dollop of whipped cream to enhance the dessert experience.
Notes
- Use fresh cherries if possible for the best flavor, but frozen cherries work well without thawing completely.
- If cherries are very tart, adjust the sugar up to 1/3 cup extra to balance acidity.
- Cold butter is key to creating a crumbly, crunchy topping texture.
- Almond extract is optional but highly recommended to boost cherry flavor.
- For nut allergies, omit the nuts or substitute with seeds like pumpkin or sunflower.
- Store leftovers covered in the refrigerator for up to 3 days; reheat before serving.
Nutrition
- Serving Size: 1/8 of recipe
- Calories: 320
- Sugar: 25g
- Sodium: 180mg
- Fat: 14g
- Saturated Fat: 8g
- Unsaturated Fat: 5g
- Trans Fat: 0g
- Carbohydrates: 44g
- Fiber: 4g
- Protein: 4g
- Cholesterol: 30mg
Keywords: cherry crisp recipe, cherry dessert, fruit crisp, easy cherry dessert, baked cherry crisp