Dark Chocolate Raspberry Cheesecake Recipe
Introduction
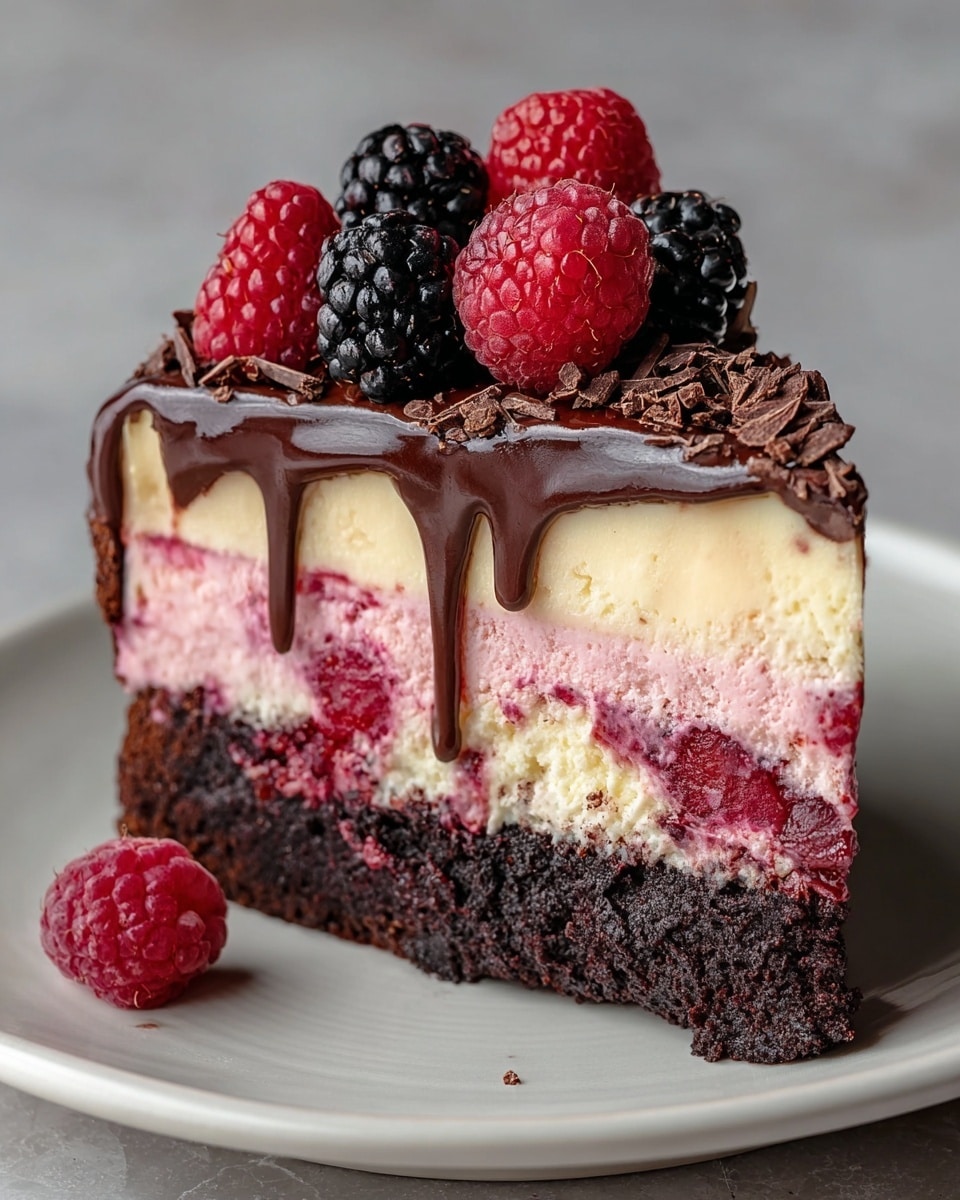
This Dark Chocolate Raspberry Cheesecake combines rich, velvety chocolate with the bright tartness of fresh raspberries. It’s a decadent dessert perfect for special occasions or whenever you crave a luscious treat.
Ingredients
- 2 cups crushed chocolate cookies
- 1/4 cup melted butter
- 24 oz cream cheese, softened
- 1/2 cup sugar
- 1/4 cup melted dark chocolate
- 1 tsp vanilla extract
- 3 eggs
- 1/2 cup fresh raspberries
Instructions
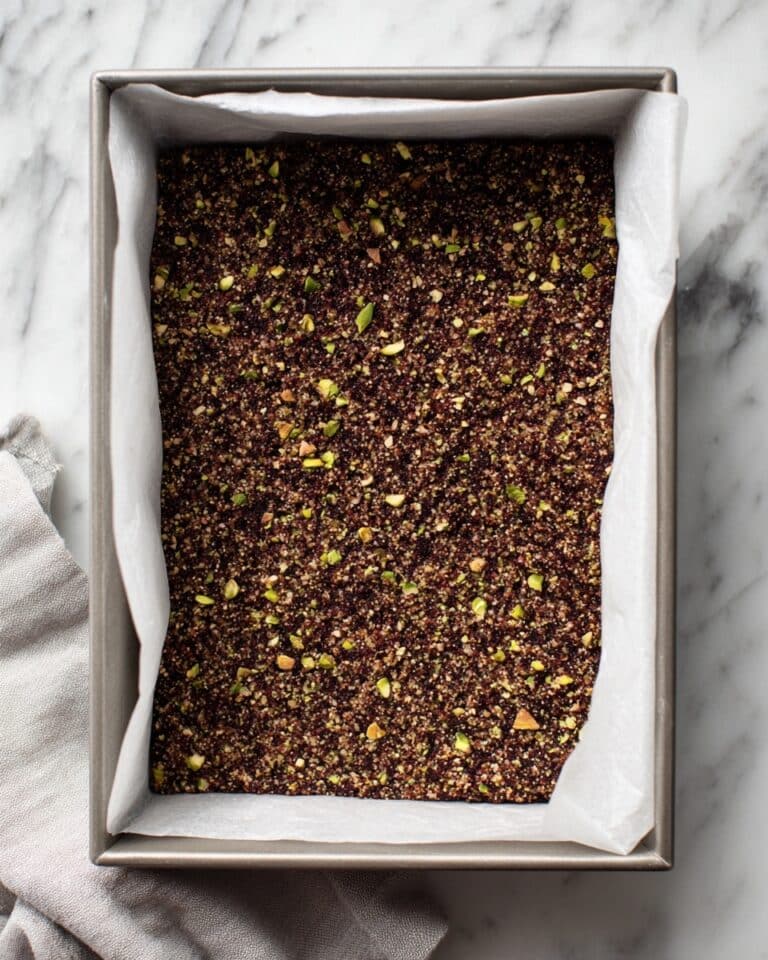
- Step 1: Preheat your oven to 325°F (160°C). Mix the crushed chocolate cookies with the melted butter until evenly combined. Press this mixture firmly into the bottom of a springform pan to create an even crust layer.
- Step 2: In a large mixing bowl, beat the softened cream cheese, sugar, melted dark chocolate, and vanilla extract together until the mixture is smooth and fully combined. Then, add the eggs one at a time, ensuring each is mixed thoroughly before adding the next.
- Step 3: Gently fold the fresh raspberries into the cream cheese mixture to avoid breaking the berries. Pour this filling evenly over the prepared chocolate cookie crust in the springform pan.
- Step 4: Place the pan in the oven and bake for 60 minutes or until the center is set but still slightly jiggly. Once baked, remove from the oven and allow the cheesecake to cool completely at room temperature.
- Step 5: For best flavor and texture, refrigerate the cooled cheesecake for several hours or overnight before slicing and serving.
Tips & Variations
- Use a water bath during baking to prevent cracks and keep the cheesecake moist.
- Substitute fresh raspberries with frozen ones if fresh are not available; just thaw and drain well before mixing.
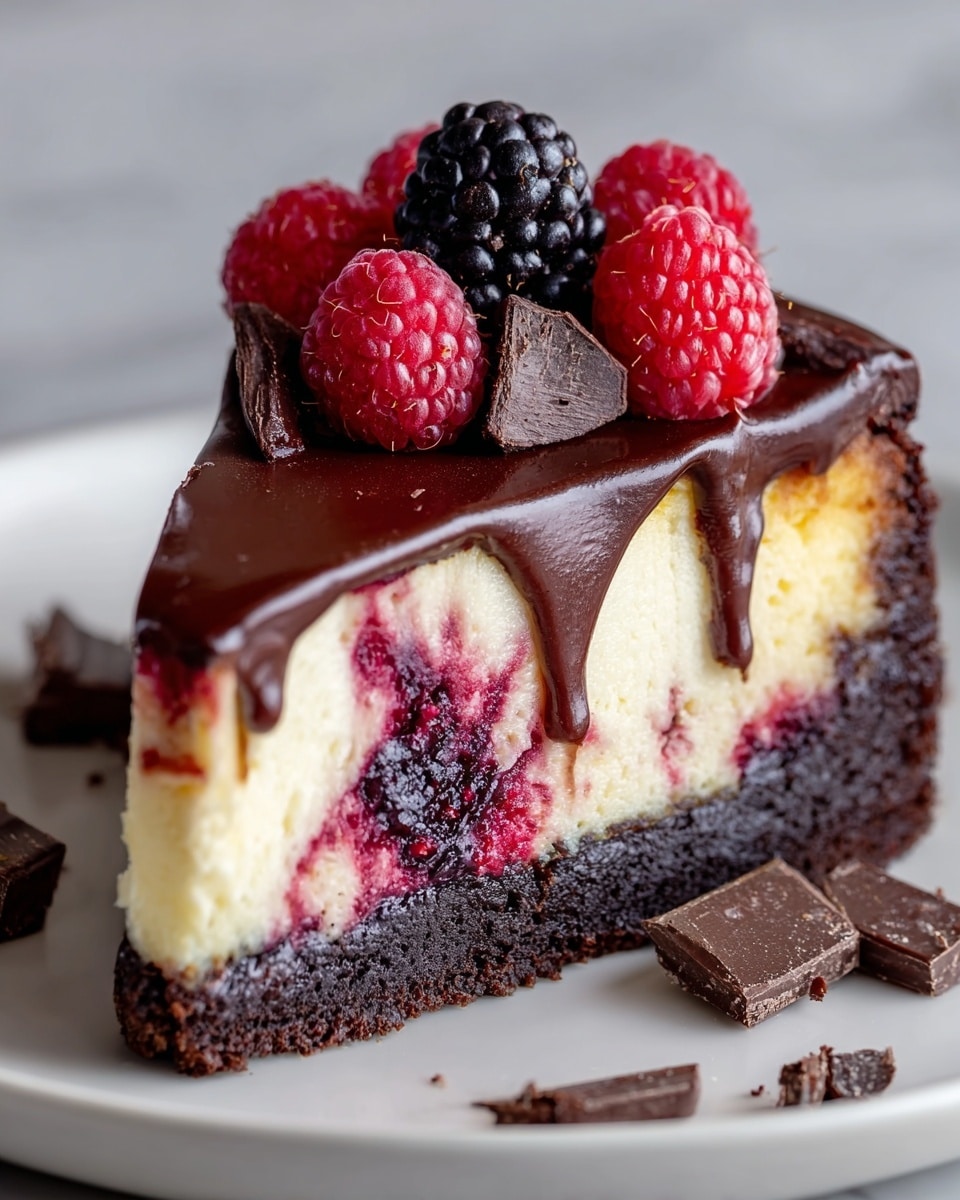
- For an extra indulgent touch, drizzle additional melted dark chocolate over the chilled cheesecake before serving.
Storage
Store the cheesecake covered in the refrigerator for up to 4 days. For longer storage, freeze it tightly wrapped for up to 1 month. Thaw in the refrigerator overnight before serving. Reheat is not recommended as it may affect texture.
How to Serve
Serve this delicious recipe with your favorite sides.
FAQs
Can I use a different type of chocolate?
Yes, you can substitute dark chocolate with milk or semi-sweet chocolate, but keep in mind this will alter the flavor and sweetness of the cheesecake.
How do I prevent the cheesecake from cracking?
Make sure to bake at a low temperature and avoid overbaking. Using a water bath and allowing the cheesecake to cool gradually in the oven can also help prevent cracks.
PrintDark Chocolate Raspberry Cheesecake Recipe

This Dark Chocolate Raspberry Cheesecake combines a rich, creamy chocolate-infused filling with fresh raspberries set atop a crunchy chocolate cookie crust. Baked to perfection, it offers a decadent dessert experience with the perfect balance of tart and sweet flavors.
- Prep Time: 20 minutes
- Cook Time: 60 minutes
- Total Time: 4 hours 20 minutes
- Yield: 8 servings 1x
- Category: Dessert
- Method: Baking
- Cuisine: American
Ingredients
Crust
- 2 cups crushed chocolate cookies
- 1/4 cup melted butter
Filling
- 24 oz cream cheese, softened
- 1/2 cup sugar
- 1/4 cup melted dark chocolate
- 1 tsp vanilla extract
- 3 eggs
- 1/2 cup fresh raspberries
Instructions
- Preheat and Prepare Crust: Preheat your oven to 325°F (160°C). In a bowl, mix the crushed chocolate cookies with the melted butter until fully combined. Press this mixture firmly and evenly into the bottom of a springform pan to form the crust.
- Make Filling: In a large mixing bowl, beat the softened cream cheese, sugar, melted dark chocolate, and vanilla extract together until smooth and fully combined. Add the eggs one at a time, mixing well after each addition to ensure a uniform texture.
- Add Raspberries and Assemble: Gently fold the fresh raspberries into the cream cheese mixture, being careful not to crush them. Pour the filling evenly over the prepared cookie crust in the springform pan.
- Bake the Cheesecake: Place the pan in the preheated oven and bake for about 60 minutes, or until the center is set but still slightly jiggly. Once baked, remove the cheesecake from the oven and let it cool completely at room temperature.
- Chill Before Serving: For optimal flavor and texture, refrigerate the cooled cheesecake for several hours or overnight before slicing and serving.
Notes
- Do not overbake; the center should be slightly jiggly when done.
- Use room temperature cream cheese for a smoother filling.
- Be gentle when folding in raspberries to keep them whole.
- Chilling the cheesecake overnight enhances flavor and firmness.
- A springform pan is recommended for easy removal.
Keywords: dark chocolate cheesecake, raspberry cheesecake, chocolate cookie crust, baked cheesecake, dessert recipe, chocolate dessert